Provisional Press

Here are some images of an economical letterpress press you can build from components from Provisional Press.

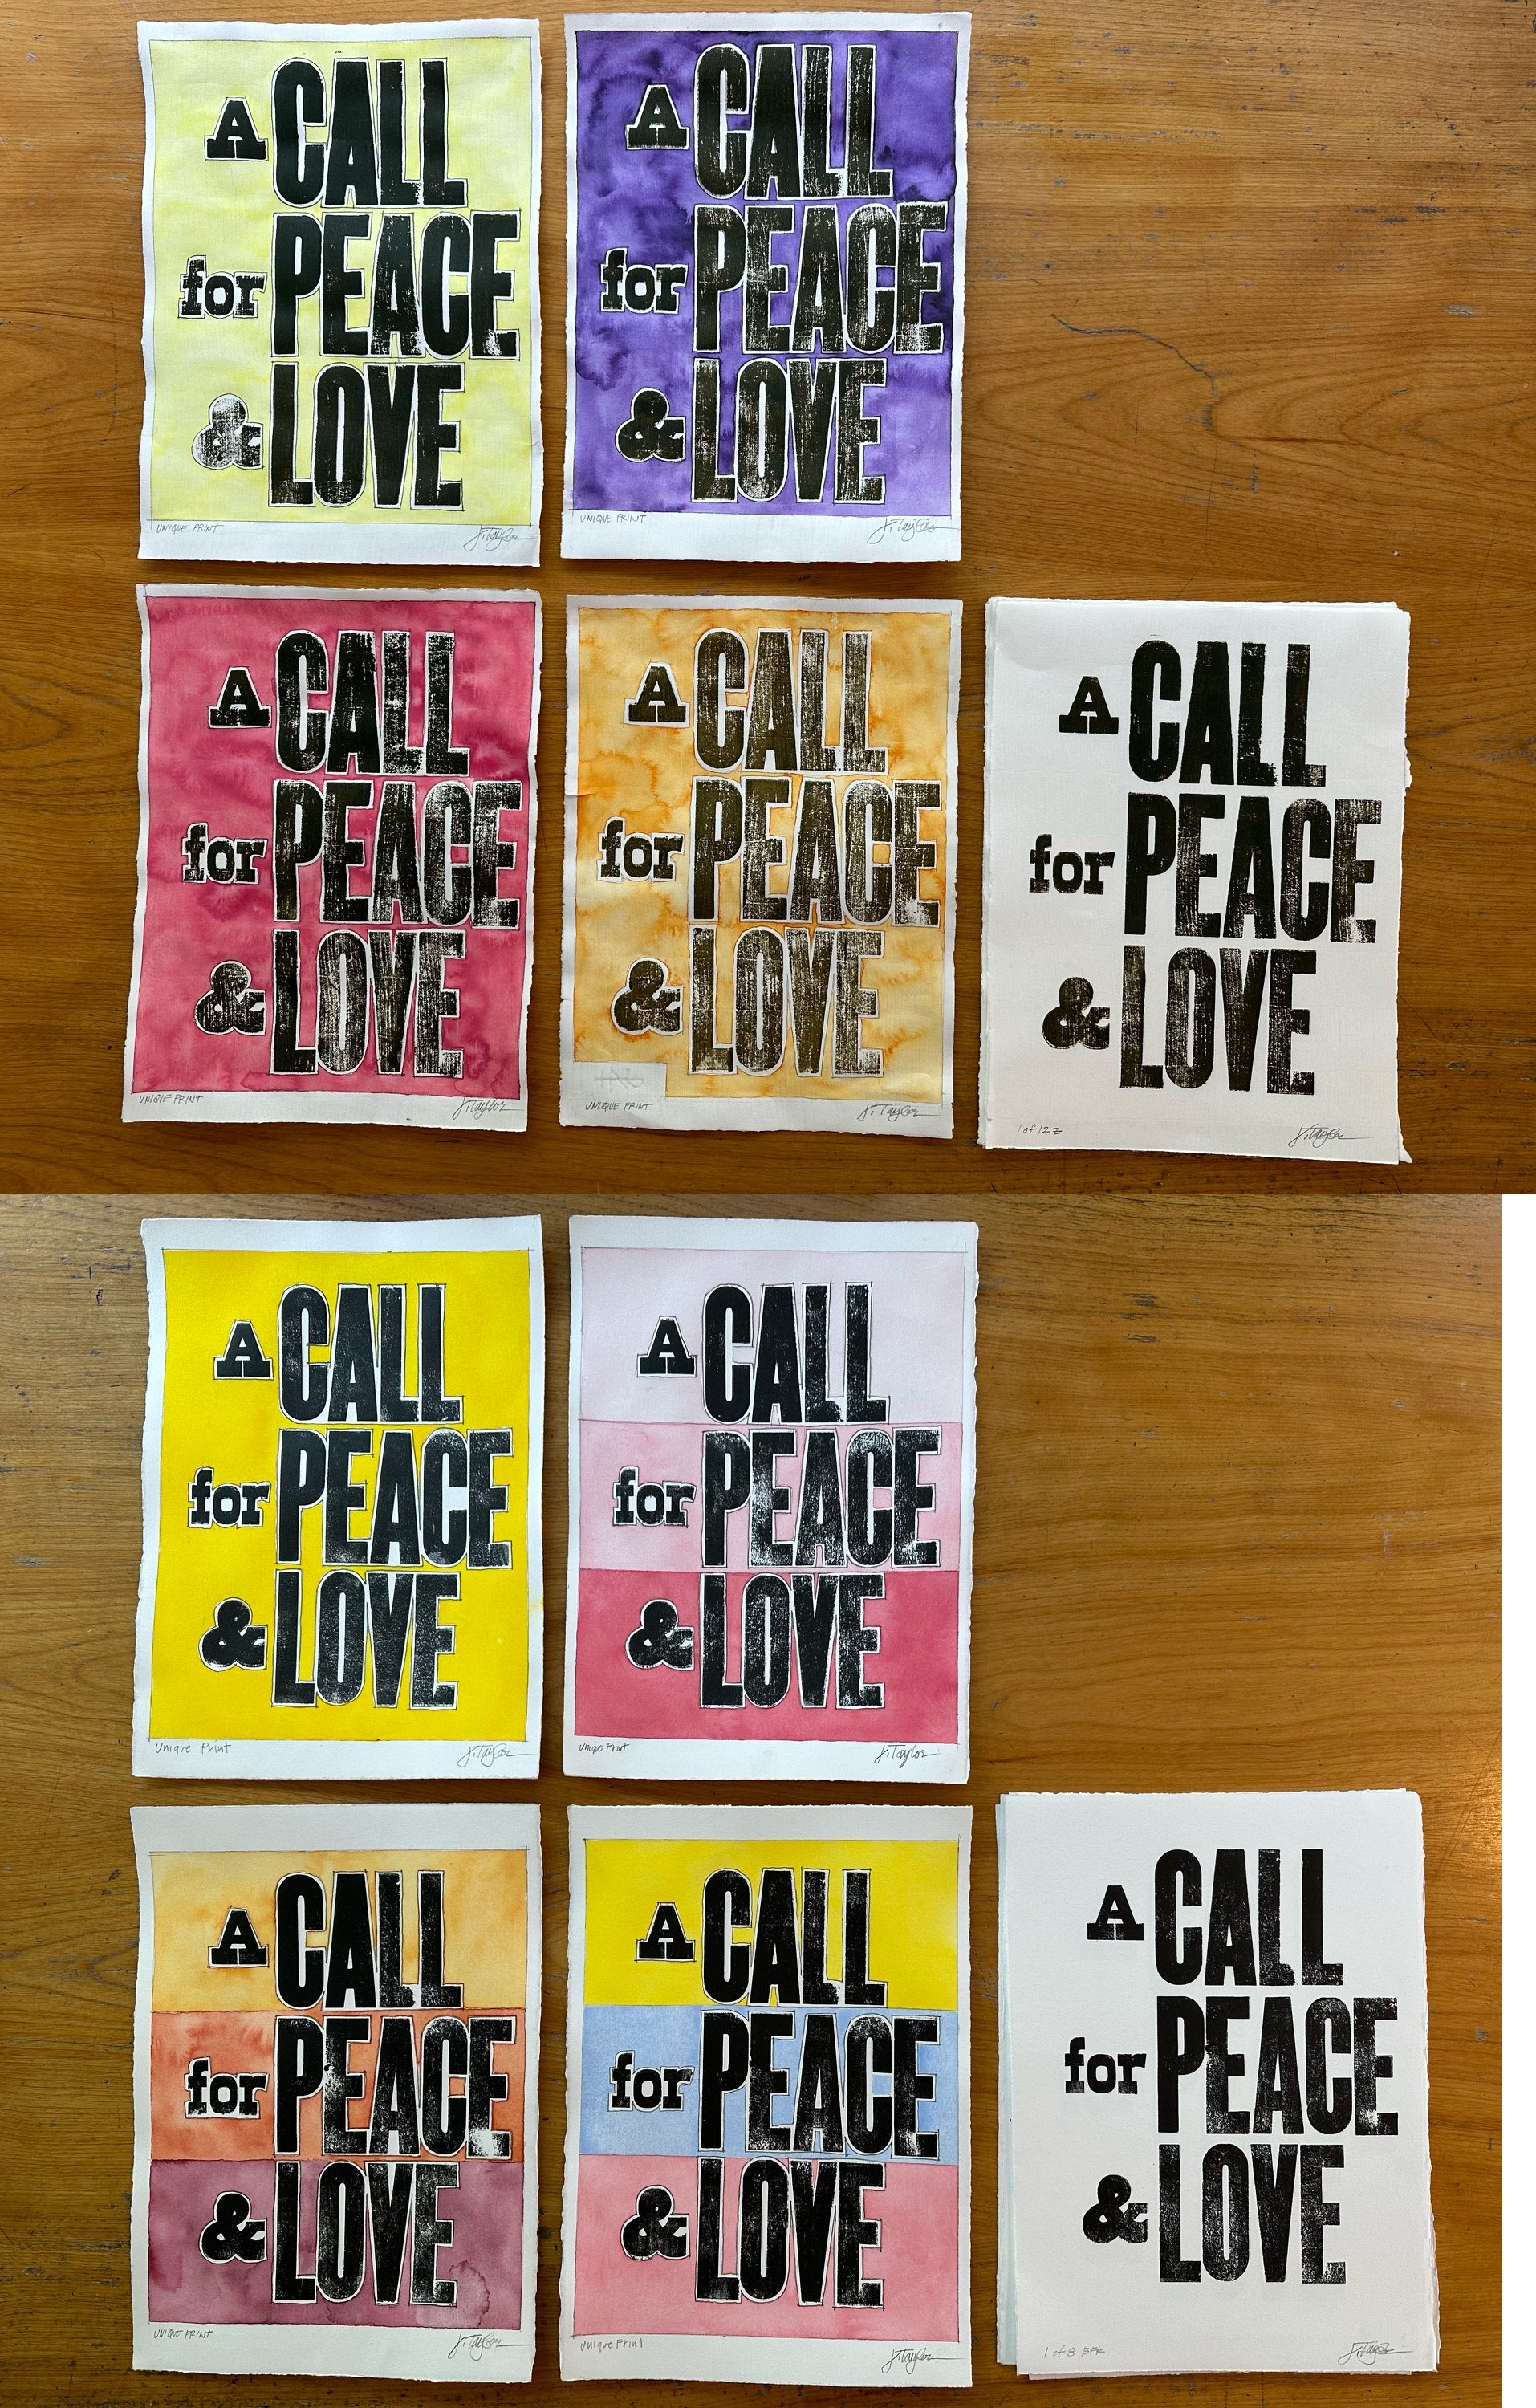
This press is a perfect low cost press you can build with all of the parts sent to you and instructions on their site. For me it was perfect for a set of posters that expressed a way to consider the wars in Gaza and Ukraine and other conflicts around the globe with some wood type I traded for an unused electric guitar.

Provisional Press with wood type lock up and inking

Pencil outlining before color

Some colored prints next to black and white series

Two part linoleum plate with an insert for two color single pass printing

Printmaking techniques are so varied and vast. A simple go to printing exercise is to use linoleum plates and carving tools. Often I use several plates and register them in the inking process to get a layers of colors and information on one proof doing several passes. An easy way to do two or more colors on the same proof is to cut several pieces of a finished lino plate before or after carving the image. The following example shows how a plate was carved as a single image then a piece in the middle which described an outline of a ship and its reflection was separated from the base plate by carefully cutting out the shape then carefully treating the edges of both the cut out piece and the base piece for easy inertion after inking and easy removal after printing for the next round of inking.

Glass topped inking table with proof at top left and the base plate and cut out pieced together at bottom left

Detail of base plate (black) and cutout insert (orange?) about 10 x 5 inches after both base and insert were inked separately with different colors.

Upper left shows the base plate and cutout insert separated. The two first proofs had the black too viscous and the yellow was not defined as a color for my tastes. More ink was added to the black to stiffen it and a sienna was added to the yellow to give more definition to the cuts. A series of future prints will probably be printed in different colors in the future.

Good proof showing how strong and aligned the colors are when using the differential inking, in this case with a two color process.

New Linocuts available at the TAH online shop!

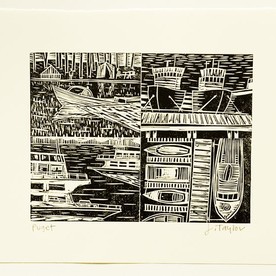
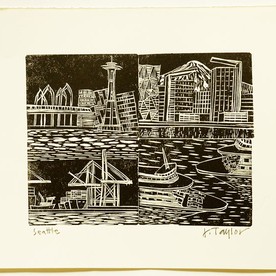
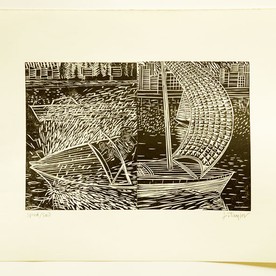
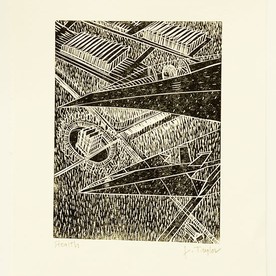
Taylor Art House is very excited about the recent linocut carving and printing of seven new series of prints with more cuts and variations coming soon. The success of recent mini sculpture sales and anticipation of linocuts arriving should make these unique and affordable pieces popular. A "pop-up" printmaking studio was set up in our heated dining and living room to push this group out for sales.  Great care was taken to make sure correct inks, paper and press leverage all acted together for a series of fresh, simple, direct and archival prints inspired by themes of home, work, place, water, flight and industry.

We are excited about adding color in some of the new series, but wanted to keep this set of prints simple and affordable.

Here are some of the linocuts (and other artworks) for sale at our online shop:


8x10 camera and factory sculpture from film

  Last term at the Certificate for Photography program at University of Washington, I constructed a 4x5 box camera thinking I would make it for a pinhole, I did make it and made a shutter out of a floppy disk which you can see in previous posts. One of the projects I made from the film after making drawings for all sides of a factory was to develop the film and without enlarging it onto paper, cut the film into shapes and make an "architectural" model out of the film adhering the sides and clerestories with scotch tape.  The 4x5 factory was a bit small and an 8x10 film camera would make a bigger sculpture from it's negative, so a new camera was built, originally designed for a pinhole lens, but made flexible to take any Horseman or Sinar lens board.  The camera had set a focal length of a little over a meter and used a 210mm lens and lens board from a Horseman 4x5 view camera.  On an 8x10 camera a 210mm lens is a bit wide, so so the drawings to be photographed were enlarged  to fill the negative.  Instead of hand drawing the elevations were constructed them in Google's SketchUp drawing program, printed at 11x17 and then about doubled on an enlarging copier.  The pages were taped together to get a subject big enough to fill the image on the film.  Color corrected compact fluorescent bulbs in two studio lights with reflectors and scrims were used to flatten out the light.  After some sloppy developing (two of the negatives dislodged in the developing tank and blocked a lot of the chemicals for another two negatives, so they were faint) the negatives were dried and then cut out and made into the factory sculpture out of the film.  The sculpture was placed upstairs in the study window and shot digitally south to Lake Union, Downtown Seattle and the Space Needle.  The RAW files were manipulated in Photoshop and made a couple of great prints.


Simply stated, an economical scratch-built 8x10 camera box was built with a fixed focal length, a 210mm lens and a double sided 8x10 film holder were attached to the front and back of the camera, a set of sides were drawn electronically for factory shapes, the enlarged factory drawings were shot on film with the 8 x 10 camera, the film was chemically processed, the film was washed and dried then cut out to be joined with scotch tape, then the sculpture was digitally shot and the RAW files were manipulated in Photoshop and printed on the University's high-end Epson archival inkjet printers.


Seems so simple, doesn't it?

[portfolio_slideshow pagerstyle=thumbs pagerpos=topfluid=true class=pager-right paperwidth=180]

Classes at SCCC

Took advantage of some sweet deals on classes for those of a certain age at Seattle Central, Painting (acrylic) and Printmaking.  Last class and print exchange will be March 20. Look for lino reduction print "Dolphins at Siding" on Relief page soon.